The Lil Bark Menace: Deconstructing Megabonk’s Forest Final Boss Challenge
Popular Now
 Free Fire
 BeamNG.drive
 Stumble Guys
 Minecraft
 The Legend of Zelda
 Sonic the Hedgehog™ Classic
 Valorant
 Free Fire Max
 God of War Ragnarök
 NBA 2K24
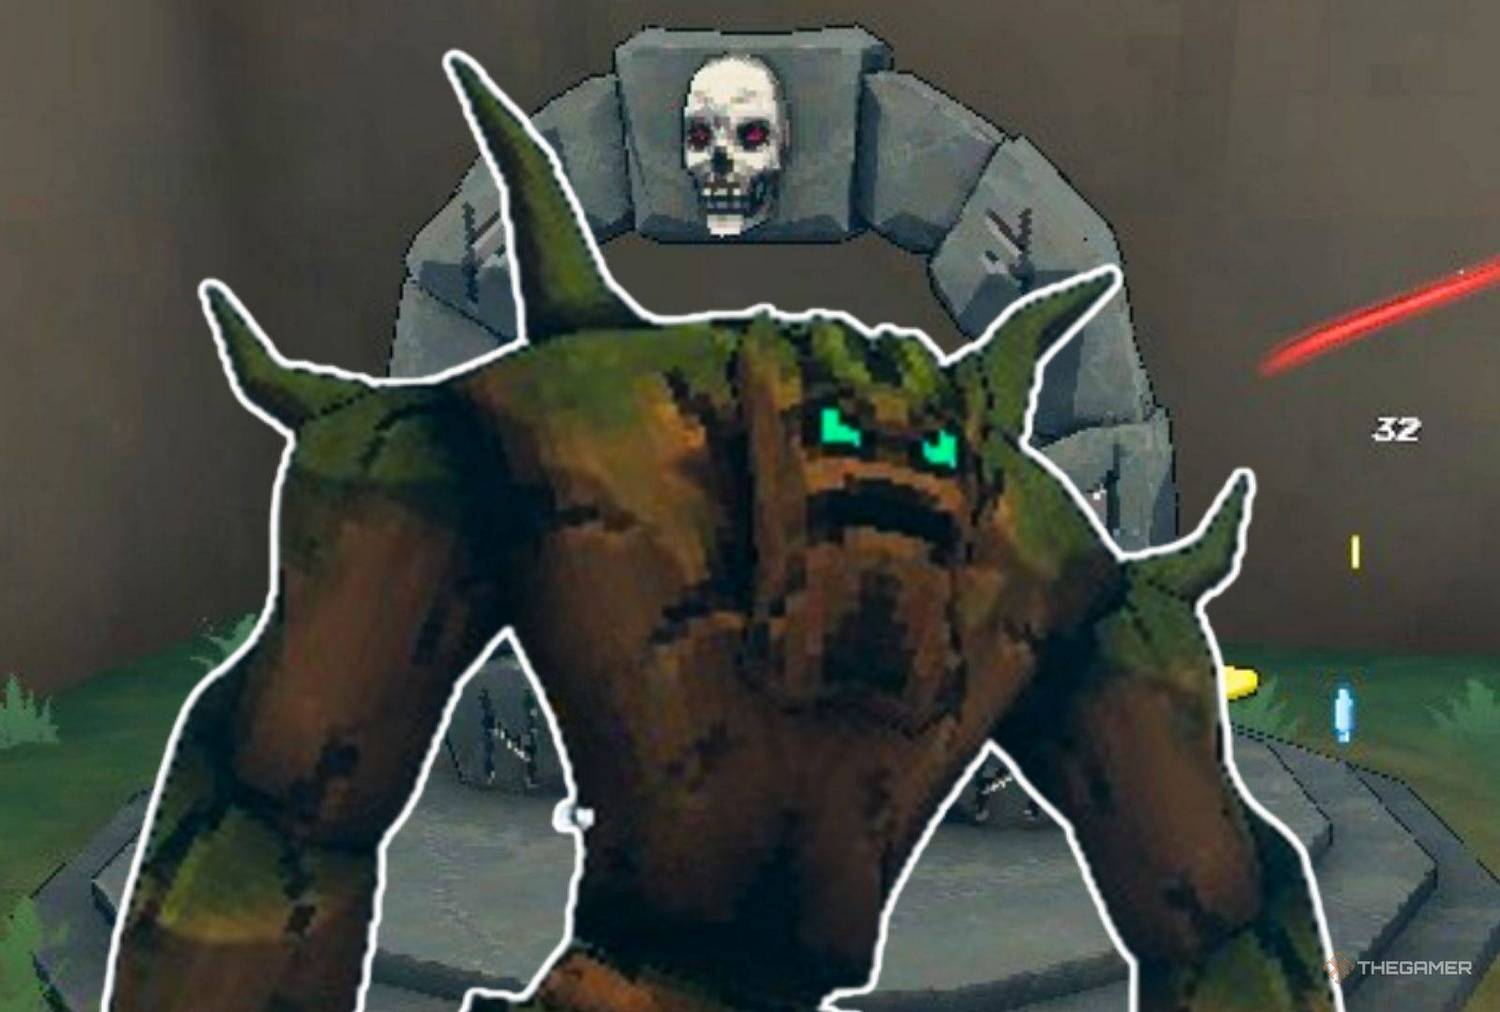
  The burgeoning roguelike sensation, Megabonk, has rapidly captured the attention of the gaming community, blending the addictive horde-survival mechanics of Vampire Survivors with the chaotic 3D environment and item synergies of Risk of Rain 2. As players delve deeper into its increasingly bonkers world, they inevitably come face-to-face with the formidable Lil Bark—often referred to as ‘Bark Vader’ in community discussions—the final boss of the Forest tier. This encounter is a significant difficulty spike, demanding not just raw damage but strategic positioning and build refinement, especially in the wake of the latest Version 1.0.4 Patch, which has thankfully introduced vital quality-of-life adjustments to this high-CPC engagement.
For players focused on maximizing their returns and securing those crucial unlocks, mastering this boss fight is non-negotiable. Our comprehensive guide provides the cutting-edge strategy, updated for the current game version, to ensure you can consistently defeat Lil Bark and progress to the next tier. The key to success is transitioning from a general survival build to a focused, boss-shredding powerhouse.
 Pre-Fight Preparation: Optimizing Your Build for Maximum DPS and Survivability
The Lil Bark fight is a stat-check, but crucially, it’s also a gimmick fight. Pre-fight optimization is paramount, as your build must account for the boss’s unique phases, most notably the weapon-disabling and health-regenerating mechanics. Focus on a high-synergy build targeting four core stats:
- Damage Output (DPS): The boss has a large HP pool (around 12,000 HP in base difficulty, but significantly more in later tiers). Prioritize Raw Damage, Critical Damage, and Attack Speed upgrades. Weapons that naturally scale well with these, like the Katana, Slutty Rocket, or certain Tome-buffed starter weapons, are excellent choices.
- Projectile Count: More projectiles mean more hits per attack, dramatically multiplying your DPS, especially with high Attack Speed. The Projectile Tome is essential.
- Survivability: While Lifesteal is a common survival mechanism in Megabonk, the boss’s invulnerability phases negate it entirely. The key here is HP Max, HP Regen, and Shields (via the Shield Tome or certain items like the Aegis). A health pool of over 1000 and solid Regen are highly recommended to tank the orb barrages.
- Mobility: Absolutely crucial for the pylon phase. Invest in Agility Tome upgrades, and more importantly, use shrines to secure Multi-Jumps and Speed Boosts.
High-Value Items and Tomes:
- Shield Tome: Cannot be disabled by the boss, offering a consistent layer of defense.
- HP Regen: Counteracts the damage you’ll inevitably take, particularly during the pylon phase when Lifesteal is off.
- Aegis (if using a character that benefits): Excellent defensive and offensive utility.
- Dice (for reliable Crit Chance): A staple for high-damage builds.
- XP Tome (Early Focus): Allows for rapid scaling of all your core stats before the final encounter.
 Phase Breakdown: A Masterclass in Dodging and Pylon Management
Lil Bark’s fight is defined by its two alternating phases. Understanding and swiftly executing the strategy for each is the path to victory and achieving the prestigious Speedrunner achievement.
Phase 1: Aggressive DPS Window
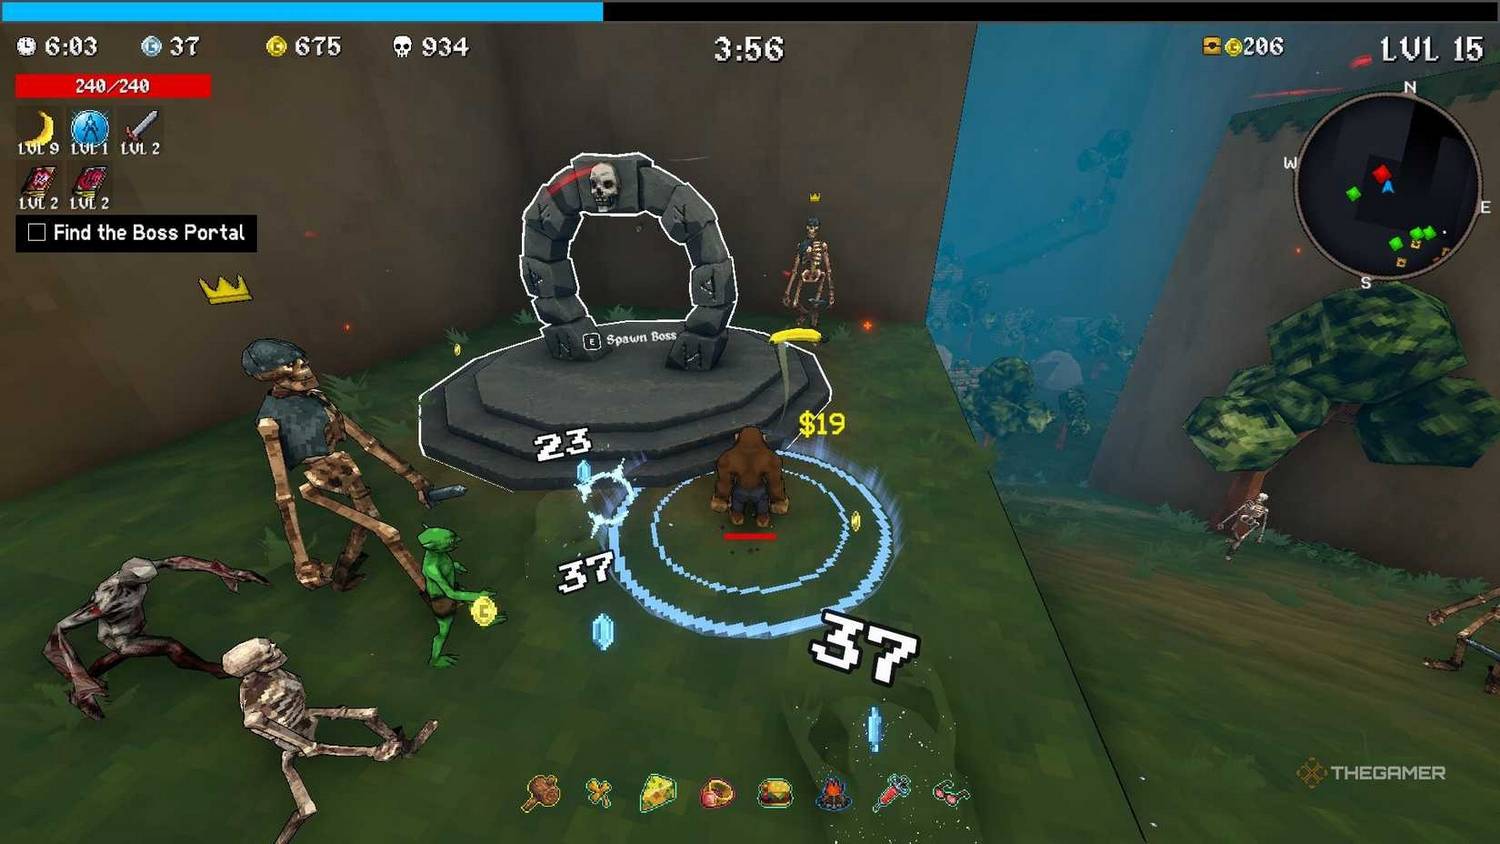
Upon summoning, Lil Bark will immediately attempt to reduce your arsenal. In the latest patch (1.0.4), the boss now only deletes a portion of your weapons initially, and critically, returns one weapon in each subsequent invulnerability phase. This adjustment greatly reduces the anti-fun aspect and elevates the importance of your main, high-investment weapon.
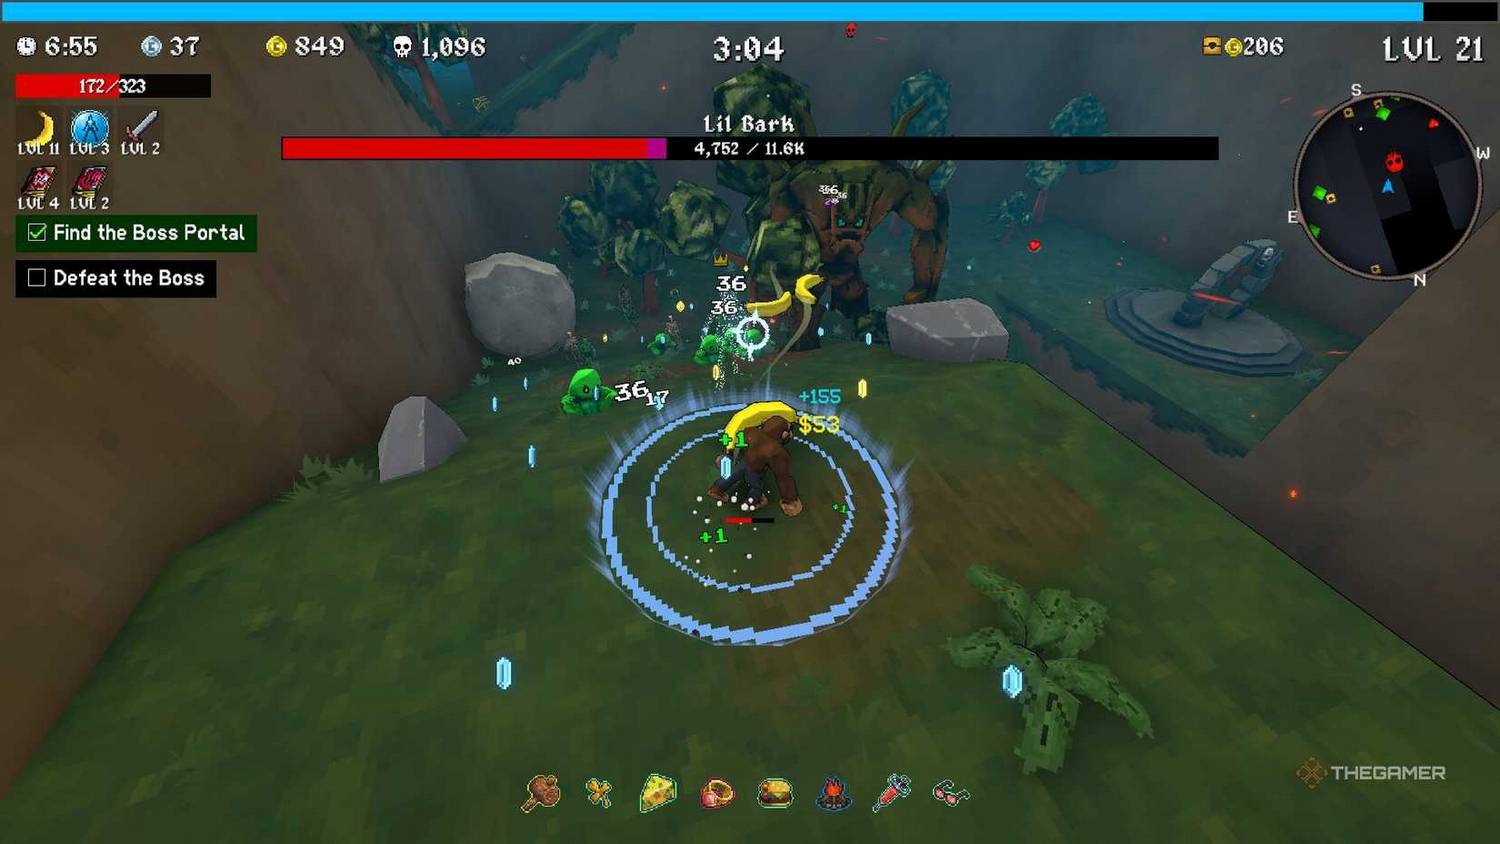
- Attack Pattern: The boss typically summons a line of pointy trees marked by red spheres on the ground.
- Strategy: Maintain constant pressure. Circle strafe the boss, keeping close enough for all your projectiles to hit. Weave between the red spheres; the telegraph is generous, allowing for easy avoidance. This phase is your primary window for dealing maximum damage before the invulnerability trigger.
Phase 2: Invulnerability and Pylon Scramble
Once you deplete a segment of Lil Bark’s health, it will become temporarily invulnerable, shield itself, and begin to regenerate HP. This forces a rapid-fire environmental objective.
- The Gimmick: Multiple Shielding Shrines (Pylons) appear on the map, often spread out and requiring excellent mobility. They are marked with a purple aura.
- The Trap: These pylons are surrounded by a Charge Zone that, in addition to healing the boss, will aggressively bombard you with auto-aiming projectiles and tracking orbs (some of which can freeze you). Getting hit here often leads to a quick stunlock and death.
- Strategy:
- Immediate Transition: Stop attacking the boss and prioritize the pylons.
- Speed is King: Use your high Movement Speed and Multi-Jumps to reach each pylon quickly.
- Disable and Retreat: Tap the interaction button (E) to charge/disable the pylon. Do not linger. The goal is to disable the pylon and immediately jump/dash out of the high-risk charge zone to avoid the tracking projectiles.
- Regen Counter: With the latest patch, the pylon zones are larger and heal the boss less, making the scramble more manageable. Your passive HP Regen will be vital in recovering from any stray hits taken during the mad dash.
Successfully disabling all pylons returns the fight to Phase 1, and crucially, you get one of your disabled weapons back. Repeat this cycle until the boss is defeated. The final phase often involves a more intense barrage of tracking orbs, so save a Green Shield (Invincibility) power-up if possible for this final burn.
Post-Fight Analysis and Future-Proofing Your Runs
The fight against Lil Bark is a perfect microcosm of Megabonk’s appeal: a chaotic, high-risk, high-reward challenge. The developer, Vedinad, has been highly responsive, as evidenced by the quick patch addressing community feedback on the boss’s difficulty, demonstrating a commitment to a balanced and enjoyable experience.
For players looking to push the boundaries of difficulty and secure more high-value unlocks, especially those focusing on Monetization via in-game currency for upgrades, remember that the foundational strategies remain: exponential scaling through multipliers (damage × speed × projectiles) and prioritizing defensive utility that works even when offensive life-steal fails. Keep a close eye on the official community channels for further patch notes, as the meta for this rising star of the roguelike genre is constantly evolving.


 Pre-Fight Preparation: Optimizing Your Build for Maximum DPS and Survivability
 Phase Breakdown: A Masterclass in Dodging and Pylon Management